Catching up on sharing some more of the DIY projects we’ve undertaken since we moved to Berlin-by-the-sea. Of course we’ve build everybody’s favorite IKEA hack, the learning tower (mind: not leaning tower). But also we’ve built a DIY play kitchen for the terrace which has already one harsh winter. Varnish be praised.
DIY Learning Tower
I checked the archive for pictures of building this IKEA hack learning tower: There are none. Which is okay. No need to waste precious drive space for pictures that already exists in the thousands. Check out this pin of the IKEA learning tower we’ve built for the little one:
DIY Play kitchen
Our DIY play kitchen is a completely different story: Completely built and designed ourselves, this little accessory has been a fun toy the entire pandemic summer of 2020.
DIY Play kitchen materials & measures
When it came to building the play kitchen, simplicity was one prime factor. Searching online for alternatives, of course I found dozens of sophisticated play kitchen, looking like proper toys: Proper hotplates, with knobs, a “back wall” to hang kitchen accessories and more. We didn’t want that, but just a simple stand with different boxes to play with water and stuff we find outside.
That simplicity naturally reflects back on the required materials:
- 2 wooden boards (80×40 cm)
- 1 wooden beam (at least 160 cm long)
- some screws
- plastic boxes to fit
Check your local hardware store for those plastic boxes first: You’ll want different sizes to fit your “counter”. We made 1 big box (~32×32 cm) and 2 small boxes (~15×15 cm) fit, leaving just 4 cm of wood on the side of the counter.
Building the play kitchen

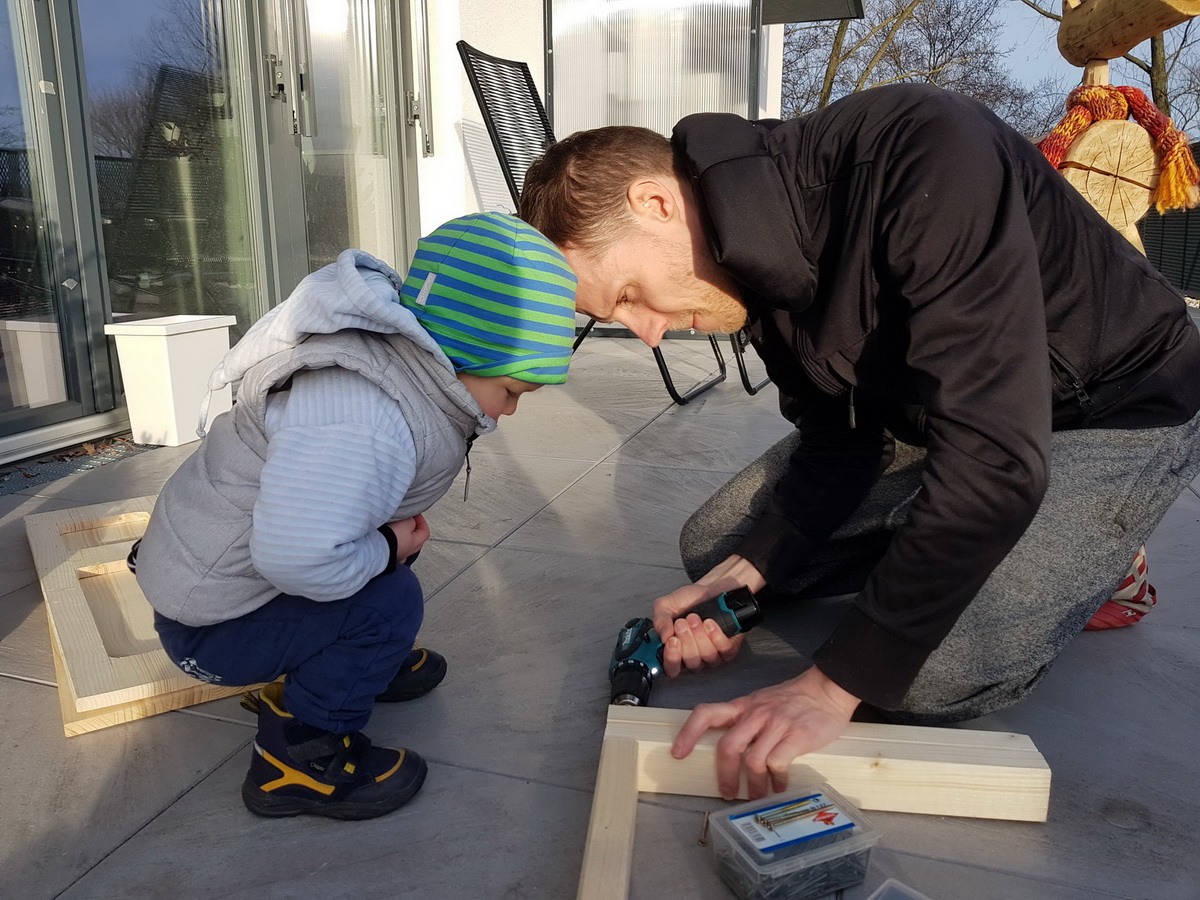
Assembly of our DIY play kitchen was simple: One board serves as the top, the other one as back wall. Since the back wall is 40 cm high, those 2 wooden beams for legs also need to be 40 cm long. The vertical connection has to fit between back wall and the legs.
The only tricky part and labor/tool intense part was actually to sawing out the opening for our plastic boxes. Drilling big holes in the rounded corners and then starting the sawing did the trick for me.
Only 6 bigger screws fixed the legs and the back wall to the bottom connectors. A handful of smaller screws attached the counter to the back wall. Because we’re drilling into the side of a thin board, using bigger screws here wouldn’t work well.


Voila! There it is! We’ve built this in early 2020. Later we’ve applied a thick layer of coating, so the play kitchen is more durable – it’s gonna see a lot of water for sure. That coating also helped it survive a quite harsh winter. Up for new play sessions 2021.